
The Internet of Things (IoT) has been an impressive modern technology. It offers the ability to enhance daily life by connecting everyday objects to the Internet. These objects can communicate and interact with their environment and this was unthinkable two decades ago. Impressed? Well, what’s more is, this technological advancement increases operational efficiency.
It also opens up a myriad of possibilities in home automation, healthcare, smart cities, and industrial automation.
A critical role in the ecosystem of IoT is played by full-stack developers.
- In the IoT sector, full-stack developers must comprehend both hardware ( such as sensors and actuators) and software (web and potentially mobile applications) unlike their counterparts in traditional roles.
- They create a seamless experience.
In this blog, we aim to look into the process of integrating IoT hardware with software. We can do this by walking through a practical example of connecting a simple sensor and actuator to a web application.
What are IoT Device Components?
IoT systems typically consist of sensors, actuators, and a control unit:
Sensors
- Devices that detect changes in their environment.
- The changes include aspects such as temperature sensors, light sensors, or motion detectors.
Actuators
- Components that perform actions based on sensor inputs.
- These components include motors, LEDs, or speakers.
Control Units
- Microcontrollers or microcomputers like Arduino or Raspberry Pi.
- They process sensor data and control actuators based on predefined logic.
Let us now use a scenario involving a temperature sensor that controls a fan based on the ambient temperature, managed by an Arduino board.
Setting up the IoT Device
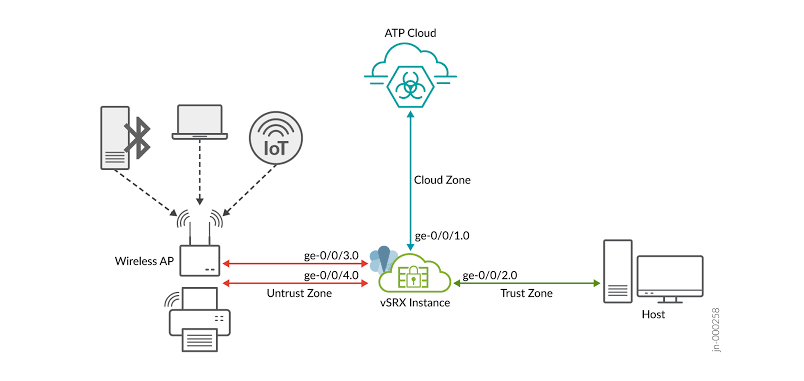
Let us start with the hardware setup using an Arduino, a common choice for IoT prototypes due to its simplicity and extensive community support.
Hardware Requirements:
- Arduino Uno
- TMP36 Temperature Sensor
- Basic DC Motor (representing a fan)
- 220-ohm resistor
- Breadboard and jumper wires
Wiring Guide:
- Connect the TMP36’s power (VCC) and ground (GND) pins to the Arduino’s 5V and GND.
- Attach the TMP36’s output to the Arduino’s analog pin A0.
- Connect the DC motor’s one terminal to digital pin 13 on the Arduino and the other to GND, using a 220-ohm resistor to manage the current.
Arduino Sketch:
cpp
int tempPin = A0; // Temperature sensor pin
int motorPin = 13; // Motor pin
int tempReading = 0; // Stores the sensor value
void setup() {
pinMode(motorPin, OUTPUT);
Serial.begin(9600);
}
void loop() {
tempReading = analogRead(tempPin); // Read temperature sensor
Serial.println(tempReading); // Print temperature for debugging
if (tempReading > 150) {
digitalWrite(motorPin, HIGH); // Turn fan on
} else {
digitalWrite(motorPin, LOW); // Turn fan off
}
delay(1000); // Wait for a second before next reading
}
- This Arduino program reads temperature data and controls a fan based on the temperature.
- The value 150 is a placeholder
- It should be calibrated based on the sensor’s specific output and environmental conditions.
What is Web Connectivity in IoT?
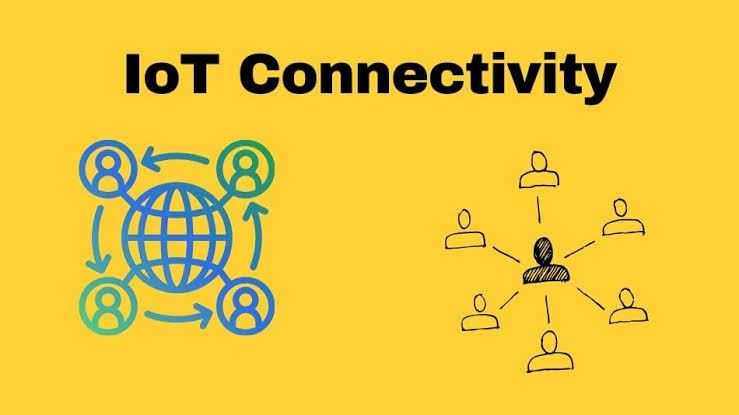
To enable our IoT device to communicate over the internet, we need to integrate it with web technologies. This involves setting up a communication protocol that allows the Arduino to send data to a web server.
Adding Wi-Fi Capabilities:
To connect Arduino to the internet, we can use an ESP8266 Wi-Fi module, which communicates with the Arduino via serial communication.
Here is an example for ESP8266 Integration:
cpp
#include <ESP8266WiFi.h>
const char* ssid = “YourNetworkName”; // Replace with your network name
const char* password = “YourNetworkPassword”; // Replace with your network password
WiFiClient client;
void setup() {
Serial.begin(115200);
WiFi.begin(ssid, password);
while (WiFi.status() != WL_CONNECTED) {
delay(500);
Serial.print(“.”);
}
Serial.println(“Connected to WiFi”);
}
void loop() {
// Example of sending data to a web server or API endpoint
if (client.connect(“yourserver.com”, 80)) { // Connect to the server (change to your server’s address)
client.println(“GET /update?value=” + String(tempReading) + ” HTTP/1.1″);
client.println(“Host: yourserver.com”);
client.println(“Connection: close”);
client.println();
}
}
- This above-given setup uses the ESP8266 to connect the Arduino to a Wi-Fi network.
- It sends data to a predefined web server.
Building the Backend
For the backend, we use Node.js to create a simple API that can receive data from our IoT device and send commands back if necessary.
Setting Up Node.js:
bash
npm init -y
npm install express body-parser
Server Code (index.js):
javascript
Copy code
const express = require(‘express’);
const bodyParser = require(‘body-parser’);
const app = express();
app.use(bodyParser.json());
app.post(‘/temperature’, (req, res) => {
const temperature = req.body.temperature;
console.log(`Received temperature: ${temperature}`);
// Add logic to respond to the temperature, e.g., turn a fan on/off
res.send(‘Data received’);
});
app.listen(3000, () => {
console.log(‘Server is running on http://localhost:3000’);
});
- This Node.js server listens for POST requests containing temperature data.
- Based on the temperature, additional logic can be added.
- It includes database storage or triggering other actions.
Building the Frontend
A simple React application can serve as the frontend, allowing users to view real-time data from the IoT device.
React Setup:
bash
npx create-react-app iot-dashboard
cd iot-dashboard
npm start
Example for React Component:
javascript
import React, { useState, useEffect } from ‘react’;
import axios from ‘axios’;
function TemperatureDashboard() {
const [temperature, setTemperature] = useState(0);
useEffect(() => {
const intervalId = setInterval(() => {
axios.get(‘http://localhost:3000/temperature’)
.then(response => setTemperature(response.data.temperature));
}, 1000);
return () => clearInterval(intervalId);
}, []);
return (
<div>
<h1>Current Temperature: {temperature}°C</h1>
</div>
);
}
export default TemperatureDashboard;
This component periodically fetches temperature data from our server and displays it, providing a real-time dashboard for monitoring.
Integrating IoT with Cloud Services
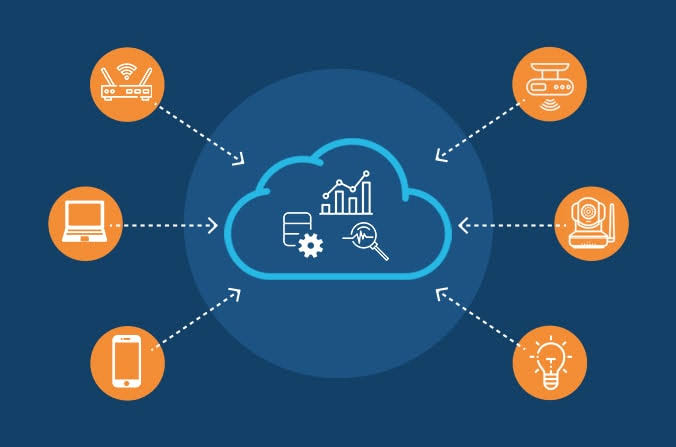
- For more robust applications integrating with cloud services such as AWS IoT, Google Cloud IoT, or Microsoft Azure IoT can provide advanced functionalities.
- These functionalities include scalability, comprehensive data analytics, and enhanced security.
- These platforms offer extensive toolkits to manage large-scale IoT deployments efficiently.
Conclusion
Developing IoT solutions involves a mix of hardware configuration, software programming, and system integration. In this blog, we have taken you through setting up an IoT device with sensors and actuators, connecting it to the internet, and integrating it with a full-stack web application. These steps provide a foundation to explore more complex IoT systems that can operate in diverse environments and scale as needed. With the IoT landscape continuously evolving, there are endless possibilities for innovation, making it an exciting field for developers looking to make an impact in the digital and physical worlds.





Add comment