

In today’s digital world, security is a significant concern for all applications, particularly web applications. Due to the increasing number of cyber threats, security should be an essential consideration during application development. Developing a secure application with Spring Boot and MySQL can help you reduce the risk of security vulnerabilities.
Spring Boot is a popular Java-based framework for building web applications. It provides many features that can help you secure your application, including authentication, authorization, and encryption. On the other hand, MySQL is a widely used open-source relational database management system. It provides various security mechanisms to protect your data, such as authentication, encryption, and access control.
In this blog, we will discuss how to develop a secure application with Spring Boot and MySQL.
Securing Spring Boot Applications
Spring Boot provides many features that can help you secure your application. These features include:
- Authentication: Authentication is the process of verifying the identity of a user. Spring Boot provides several authentication mechanisms, such as basic authentication, form-based authentication, and OAuth 2.0 authentication.
- Authorization: Authorization is the process of determining what a user can access or do in an application. Spring Boot provides several authorization mechanisms, such as role-based authorization and permission-based authorization.
- Encryption: Encryption is the process of converting data into a secret code to protect it from unauthorized access. Spring Boot provides several encryption mechanisms, such as SSL/TLS encryption, symmetric encryption, and asymmetric encryption.
- Logging: Logging is the process of recording application events to help you diagnose and debug problems. Spring Boot provides several logging mechanisms, such as Log4j and Logback.
Configuring MySQL for Security
MySQL provides various security mechanisms to protect your data. These mechanisms include:
- Authentication: MySQL provides several authentication mechanisms, such as native authentication, LDAP authentication, and PAM authentication.
- Encryption: MySQL provides several encryption mechanisms, such as SSL/TLS encryption and data-at-rest encryption.
- Access Control: MySQL provides several access control mechanisms, such as role-based access control and grant-based access control.
Developing a Secure Spring Boot Application with MySQL
Now, let’s develop a secure Spring Boot application with MySQL. In this example, we will create a simple REST API that allows users to perform CRUD operations on a database table.
Step 1: Create a Spring Boot Project

To create a new Spring Boot project, you can use the Spring Initializr website or the Spring Boot CLI. Here, we will use the Spring Initializr website to create a new project.
Go to https://start.spring.io/ in your web browser.
Select the following options:
- Project: Maven Project
- Language: Java
- Spring Boot: 2.5.0
- Packaging: Jar
- Java: 8
Click the “Add dependencies” button.
Select the following dependencies:
- Spring Web
- Spring Data JPA
- MySQL Driver
Click the “Generate” button to download the project.
Step 2: Configure MySQL in Spring Boot

To configure MySQL in Spring Boot, you need to add the following properties to the application.properties file:
spring.datasource.url=jdbc:mysql://localhost:3306/mydb
spring.datasource.username=root
spring.datasource.password=password
spring.datasource.driver-class-name=com.mysql.cj.jdbc.Driver
spring.jpa.hibernate.ddl-auto=create
In the above code, we have configured the following properties:
spring.datasource.url: This property specifies the URL of the MySQL database. Here, we have specified the URL as jdbc:mysql://localhost:3306/mydb, where “mydb” is the name of the database.
spring.datasource.username and spring.datasource.password: These properties specify the username and password for accessing the MySQL database.
Here, we have specified the username as “root” and the password as “password”.
spring.datasource.driver-class-name: This property specifies the JDBC driver class for MySQL. Here, we have specified the class as “com.mysql.cj.jdbc.Driver”.
spring.jpa.hibernate.ddl-auto: This property specifies the DDL mode for Hibernate. Here, we have set the mode to “create”, which means that Hibernate will create the database schema automatically.
Step 3: Create the Database Table
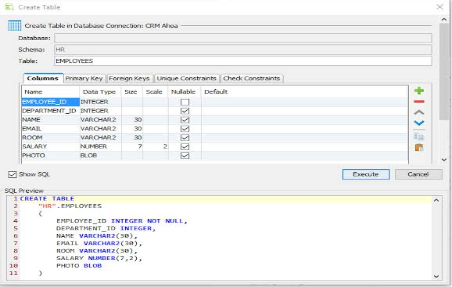

In this example, we will create a simple database table named “employee” with the following columns:
id: The primary key of the table.
name: The name of the employee.
age: The age of the employee.
To create the “employee” table, you can use the following SQL query:
CREATE TABLE employee (
id INT(11) NOT NULL AUTO_INCREMENT,
name VARCHAR(50) NOT NULL,
age INT(11) NOT NULL,
PRIMARY KEY (id)
);
You can execute this query using any MySQL client, such as MySQL Workbench or phpMyAdmin.
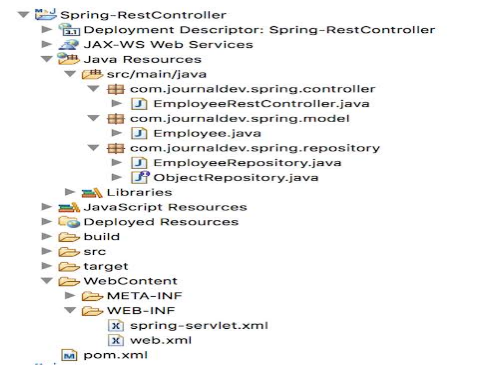
Step 4: Create the Employee Entity
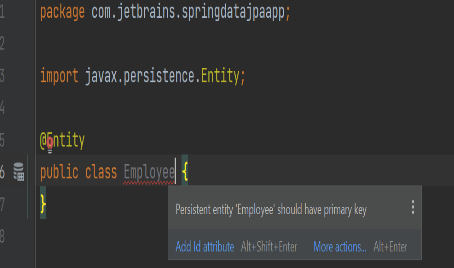

To map the “employee” table to a Java entity, you can create a new class named “Employee” with the following code:
@Entity
@Table(name = “employee”)
public class Employee {
@Id
@GeneratedValue(strategy = GenerationType.AUTO)
private Long id;
private String name;
private Integer age;
// getters and setters
}
In the above code, we have used the following annotations:
- @Entity: This annotation specifies that the class is a JPA entity.
- @Table: This annotation specifies the name of the database table for the entity.
- @Id: This annotation specifies that the field is the primary key of the table.
- @GeneratedValue: This annotation specifies the strategy for generating the primary key.
Step 5: Create the Employee Repository
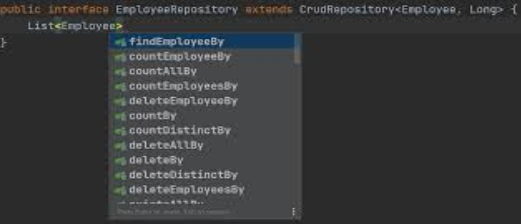

To perform CRUD operations on the “employee” table, you can create a new interface named “EmployeeRepository” with the following code:
public interface EmployeeRepository extends JpaRepository<Employee, Long> {
}
In the above code, we have extended the JpaRepository interface provided by Spring Data JPA. This interface provides many methods for performing CRUD operations on the database table, such as save(), findById(), findAll(), and deleteById().
Step 6: Create the REST Controller

To expose the CRUD operations as a REST API, you can create a new class named “EmployeeController” with the following code:
@RestController
@RequestMapping(“/employees”)
public class EmployeeController {
@Autowired
private EmployeeRepository employeeRepository;
@GetMapping(“”)
public List<Employee> getAllEmployees() {
return employeeRepository.findAll();
}
@GetMapping(“/{id}”)
public ResponseEntity<Employee> getEmployeeById(@PathVariable Long id) {
Optional<Employee> employee = employeeRepository.findById(id);
if (employee.isPresent()) {
return new ResponseEntity<>(employee.get(), HttpStatus.OK);
} else {
return new ResponseEntity<>(HttpStatus.NOT_FOUND);
}
}
@PostMapping(“”)
public Employee createEmployee(@RequestBody Employee employee) {
return employeeRepository.save(employee);
}
@PutMapping(“/{id}”)
public ResponseEntity<Employee> updateEmployee(@PathVariable Long id, @RequestBody Employee employeeDetails) {
Optional<Employee> employee = employeeRepository.findById(id);
if (employee.isPresent()) {
employee.get().setName(employeeDetails.getName());
employee.get().
.setAge(employeeDetails.getAge());
Employee updatedEmployee = employeeRepository.save(employee.get());
return new ResponseEntity<>(updatedEmployee, HttpStatus.OK);
} else {
return new ResponseEntity<>(HttpStatus.NOT_FOUND);
}
}
@DeleteMapping(“/{id}”)
public ResponseEntity<Void> deleteEmployee(@PathVariable Long id) {
Optional<Employee> employee = employeeRepository.findById(id);
if (employee.isPresent()) {
employeeRepository.deleteById(id);
return new ResponseEntity<>(HttpStatus.NO_CONTENT);
} else {
return new ResponseEntity<>(HttpStatus.NOT_FOUND);
}
}
}
In the above code, we have used the following annotations:
– @RestController: This annotation specifies that the class is a Spring MVC controller that handles HTTP requests and returns responses as JSON.
– @RequestMapping: This annotation specifies the base URL for the REST API.
– @Autowired: This annotation specifies that the employeeRepository field should be injected with an instance of EmployeeRepository by Spring.
– @GetMapping: This annotation specifies the HTTP method and URL pattern for the getAllEmployees() and getEmployeeById() methods.
– @PostMapping: This annotation specifies the HTTP method and URL pattern for the createEmployee() method.
– @PutMapping: This annotation specifies the HTTP method and URL pattern for the updateEmployee() method.
– @DeleteMapping: This annotation specifies the HTTP method and URL pattern for the deleteEmployee() method.
– @RequestBody: This annotation specifies that the employee parameter in the createEmployee() and updateEmployee() methods should be deserialized from the request body.
Step 7: Test the REST API

To test the REST API, you can use any HTTP client, such as curl or Postman. Here are some example requests:
– GET /employees: Returns a list of all employees.
– GET /employees/1: Returns the employee with ID 1.
– POST /employees: Creates a new employee with the given name and age. Example request body: {“name”: “Alice”, “age”: 30}
– PUT /employees/1: Updates the employee with ID 1 with the given name and age. Example request body: {“name”: “Alice”, “age”: 31}
– DELETE /employees/1: Deletes the employee with ID 1.
Conclusion
In this blog post, we have learned how to develop secure applications with Spring Boot and MySQL. We have seen how to configure Spring Boot to use a MySQL database, how to create a database table and a JPA entity, how to create a repository interface with Spring Data JPA, how to create a REST controller that exposes CRUD operations as a REST API, and how to test the REST API with an HTTP client.
By following the best practices for secure application development, such as using prepared statements, input validation, and encryption, we can ensure that our Spring Boot application is safe from common security vulnerabilities.
